Servers on Slicie scale automatically!
Try it free for 60 days at slicie.com
Getting started with Pterodactyl
Pterodactyl is a powerful control panel which allows you to manage game servers.
On Slicie, we automatically create servers with Pterodactyl already installed and ready to go. You don't need to learn how to setup a server with Pterodactyl, you simply need to setup the individual games you want to play.
Step 1 - Logging into Pterodactyl
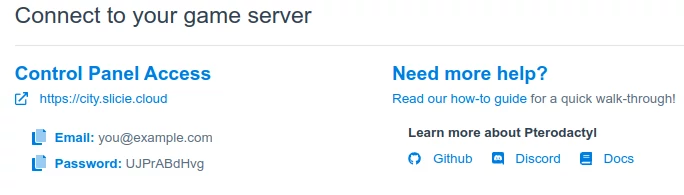
You will login at your server's default hostname, using https. Your login URL will be in our control panel, and will look something like https://city.slicie.cloud . You will see the default credentials within our control panel. Your email address will be the email address for the owner of your organization (this is probably you). The default password is automatically generated and provided to you.
Login to the control panel.
Step 2 - Adding a game server
In the top navigation, you should see 3 cogs (2 big, one little) as the icon for the admin area.
Click into the admin area.

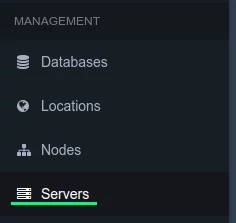
In the admin area's navigation, you'll see "Servers" under "Management".
Enters the Servers page.
On the servers page, you'll see a button to create a new server.
Click the button named "Create New".

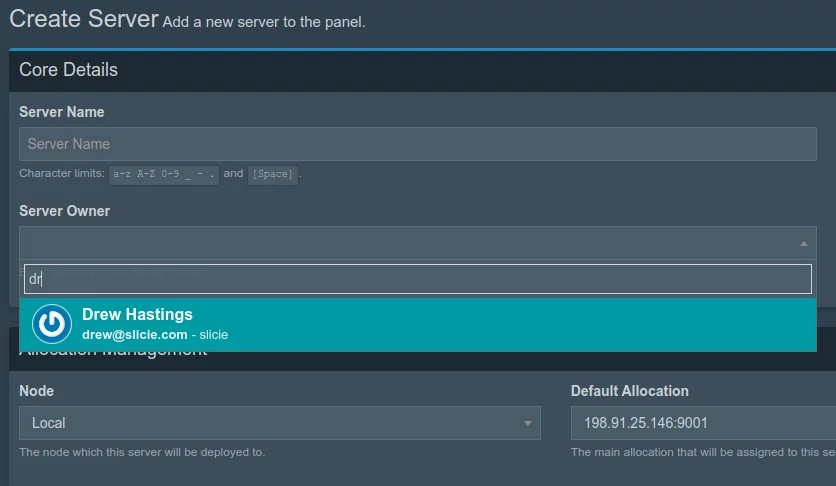
Under the section titled "Core Details", you'll see "Server Name".
Fill out the server name.
Below the "Server Name", you'll see "Server Owner". This field is annoying. You need to begin typing the email address you used to log in.
Once you begin typing your email address, it will allow you to select your account as the owner.
Select yourself from the drop-down for the "Server Owner".
Resources
Under "Resource Management" on this page, you need to set the Memory field to something. You can set it to 0, which will allow it to set use as much memory as it wants. Slicie will scale your server's resources, so unless you have some reason to restrict this game's server, enter 0.
Enter "0" (unlimited), or some amount of MiB, for the memory.
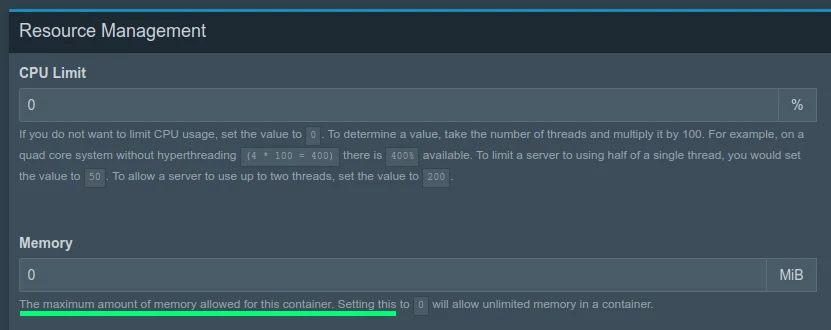
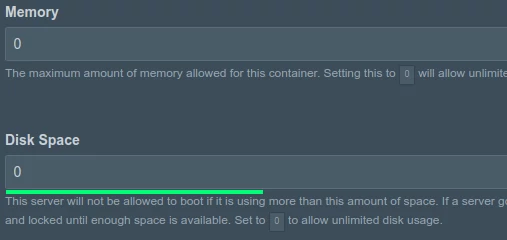
Just like memory, you need to set Disk Space to some amount. Entering "0" is a good idea here too.
Enter "0" (unlimited), or some amount of MiB, for the disk space.
Picking a game
Pterodactyl calls games (or other software) "Eggs", and the category of the Eggs are called "Nests". Fun... we know.
Pterodactyl officially supports certain Eggs (games). Try changing the Nest (category) and look through the different Eggs (games). The developers list their supported games on their github page, and as that page explains, the community has a ton of other games you can easily import.
Pick a Nest and pick an Egg

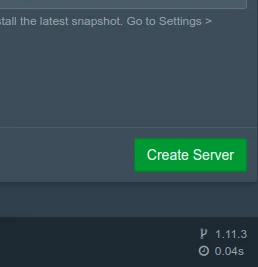
There are other options on this page, but none of them are required to create your game server.
Click the green, "Create Server" button.
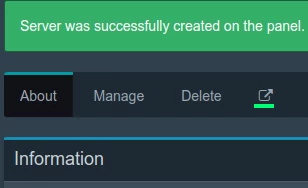
Step 3 - Using your game server
After creating the server, you'll see a icon in the navigation for managing the server.
If you don't see that icon, click "Servers" in the admin area (step 2 in this guide). On that page, each server will have a icon which brings you to the correct page for managing your server.
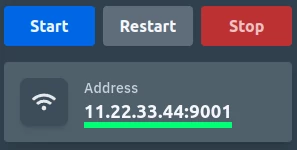
On the page to manage your server, you'll see 3 buttons that allow you to control the "power" of your server.
Your server may not be running; if it's stopped, go ahead and click "Start".

You might need to accept an EULA
Wait for the server to start. Some game servers, including Minecraft, will require you to agree to their EULA; make sure you accept it. If you don't do this, your game server will appear to be running, but you won't be able to connect to it (the next step).
Wait for the game server to initialize
Even after accepting the EULA (which might not happen for every game), most games will have a "booting up" phase. Minecraft, for instance, will generate the world the first time it boots. You basically just have to sit around and wait before you can play. Some game servers, like Minecraft, will show progress percentages that are extremely innaccurate; just wait a couple of minutes.
Step 4 - Playing the game!
On the same page, you'll see the network info for your game server.
You'll use the IP and port you see here within your game client to connect to your server.
The format is IP:PORT, so if it shows 10.20.30.40:9000 , the IP is 10.20.30.40 and the port is 9000. You may need to keep it in this format where the IP and port are combined; it's going to depend on your game client.