Servers on Slicie scale automatically!
Try it free for 60 days at slicie.com
Getting started with cPanel and WebHost Manager
cPanel is a popular control panel which is designed to help you manage a server and setup PHP applications like WordPress and Magento.
On Slicie, we automatically create servers with cPanel installed and ready to go. You don't need to learn how to setup a server with cPanel. Our platform has already setup your server to allow you to immediately begin creating accounts and websites.
Note: These docs are a lot easier if you log into Slicie! We dynamically update this page to give you the links and info you need.
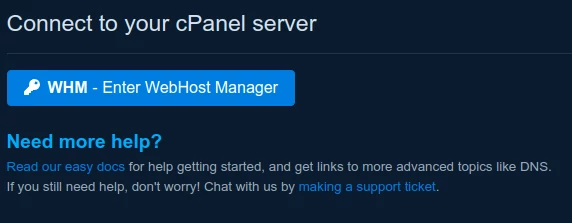
Step 1 - Start by logging into Web Host Manager (WHM)
You will log into cPanel using your server's hostname, with the port 2087. For instance, the URL would be something like https://city.slicie.cloud.
When logging in, you need to use the username "root", and your server's password. The server's default root password is shown on the Server Overview page in Slicie's portal.
Log into WHM as root.
Step 2 - Create your first cPanel account
Your server is already set up and ready to go, so you need to get to the page that allows you to create your first cPanel account.
Under the "Favorites" in WHM, we've set the "Create a New Account" option to the first option.
Click into the page titled "Create a New Account".

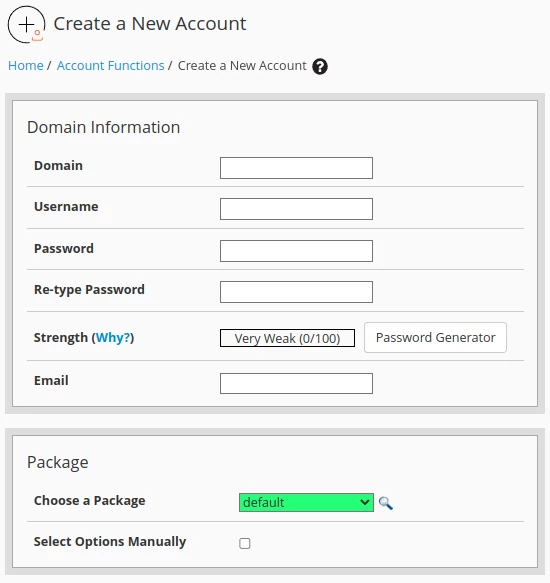
Step 3 - Fill out the form
Domain
You need to enter a domain name that you own, which you intend to use on this cPanel account. You'll be able to add as many domain names to this account as you want in the future, but this is the "primary" domain associated with this account.
It's important to understand that this doesn't really "do anything" at this moment; you're just informing cPanel how it will configure this account. If are currently using this domain name at another hosting company, don't worry about it breaking your live site. Just like you can't break google.com by entering google.com here, you can't break any other domain you own by using it here.
Later on, once your account is ready, you will use our nameservers: ns1.slicie.com and ns2.slicie.com to point your domain name to your server. Before you update your DNS, nothing will be public.
Username
There are a lot of rules about what can't be a username, but it's fairly simple.
- Keep the username less than 8 characters in length.
- You can use numbers, just don't start with them.
- No special characters.
Most web hosting companies come with a little formula that is like: example.com -> exampcom , jacob.net -> jaconet
Package and other settings
You don't need to get fancy. Pick "Default" for the package. If you want SSH access for this cPanel account, make sure you click "Select Options Manually" and check the box that says, "Shell Access".
Fill out the form and click "Create".
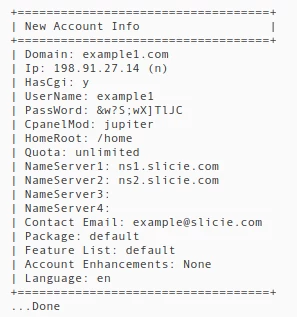
Step 4 - Log into the cPanel account
After creating your account, the next page will have a bunch of text on it, and some of it is useful. Most hosting companies provide a copy of the login credentials and nameservers to their customers.
You'll want to save the username and password for your account, as well as note the email address and nameservers.
Fill out the form and click "Create".
Step 5 - Back to the homepage
Now we're going to go to another important page, which allows you to list all of your cPanel accounts.
Click the "WHM" logo, to go back to the homepage of WHM.
Go back to the homepage of WHM
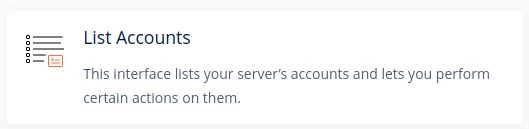
Step 6 - List your cPanel accounts
Another favorite is the "List Accounts" page which allows you to... you guessed it, list your cPanel accounts.
It's worth noting that there are other ways to get to the same page, you don't always need to go through the "Favorites" section. For instance, you can use the navigation and type in "List Accounts" in the input field that allows you to "Search Tools".
Go to "List Accounts"
Step 7 - Enter your cPanel account
The "List Accounts" page will show all of your accounts. To login to cPanel for a particular account, click the orange "cP" logo in the account's row.
Click into a cPanel account

Step 8 - Good Luck!
There is a bit of a learning curve to using cPanel the first time, but it's something countless people have learned to love. Make yourself familiar with the common pages and you'll be setting up your first site in no time.
Important Pages
- Domains - Here you can create and manage multiple domain names for your cPanel account. You can always add multiple cPanel accounts in WHM, but you can also setup many domains within a single cPanel account. It's up to you how you separate things.
- Email Accounts - Each domain you setup can have its own email accounts. You can create all of the inboxes you need here.
- MultiPHP Manager - This page allows you to pick the version of PHP that you want to run on your account, as well as each domain.
- WP Toolkit - WordPress is incredibly popular, so if you're trying to setup a WordPress site, this is the easiest way to do that.
Still Need Help? We're here to help!
Feel free to make a support ticket within our user portal and we'll do our best to help you out. Our team has been using cPanel for over a decade, so we're here to offer expert advice.